How to Replace PP Filter Cartridge and Reverse Osmosis Membrane in an RO System
Nov 26, 2025
Reverse osmosis (RO) is a widely used water treatment technology that effectively removes impurities from water, providing high-quality drinking water. The PP filter cartridge and reverse osmosis membrane in an RO system are two key components that need to be replaced regularly to ensure the system's continued efficient operation. This article will detail how to replace the PP filter cartridge and reverse osmosis membrane in an RO system.
Steps for Replacing the PP Filter Cartridge
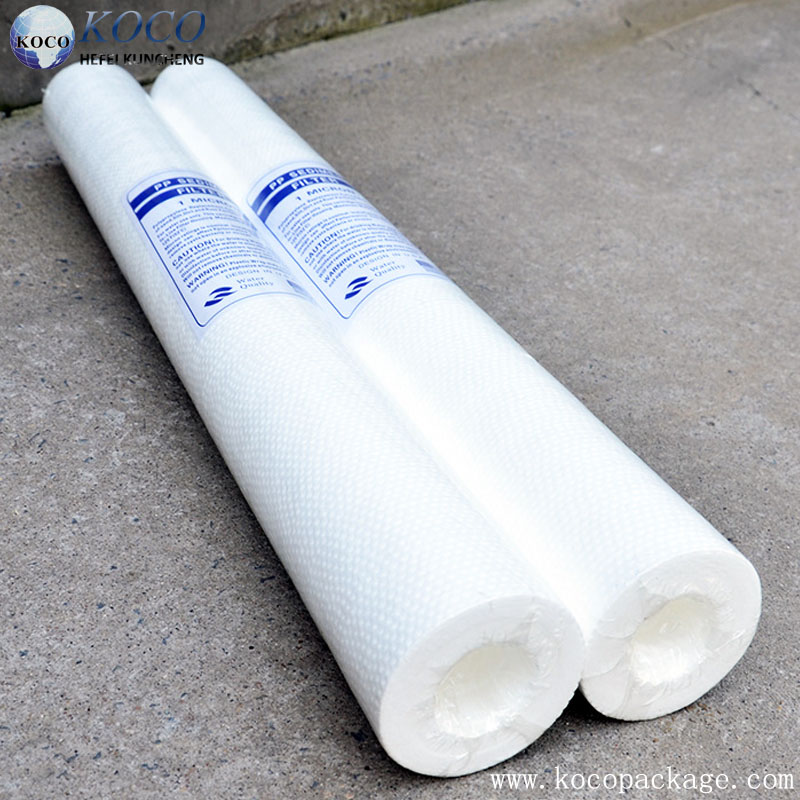
PP filter cartridges, also known as polypropylene melt-blown filter cartridges, are typically used as the primary filter in a water RO system to remove large particulate impurities such as sediment and rust. First, close the inlet valve of the RO system to ensure no water flow occurs during the replacement process. Locate the PP filter cartridge, usually at the front end of the RO system. Use an appropriate tool (such as a wrench or screwdriver) to loosen the screws or clips securing the PP filter cartridge, and then carefully remove the old PP filter cartridge. Before installing the new PP filter cartridge, clean the inside of the filter housing to ensure there is no residual dirt or old PP filter cartridge debris. Place the new PP filter cartridge into the filter housing, ensuring it is properly aligned. Then, secure the new PP filter cartridge with screws or clips. Reconnect the PP cotton filter to the system, ensuring all connections are tight and leak-free. Before using the new PP cotton filter for the first time, it needs to be flushed to remove any preservative solution. Manufacturers usually provide specific flushing guidelines. Before restarting the water supply, check the system for leaks and ensure all components are correctly installed.
Replacing the Reverse Osmosis Membrane
The reverse osmosis membrane is the core component of the RO system, responsible for removing dissolved solids and microorganisms from the water. Before starting, ensure you have the necessary tools, such as a wrench, screwdriver, bucket, and a new reverse osmosis membrane. Before replacing the membrane, shut off the water supply to the RO system. Locate the reverse osmosis membrane, usually in the filtration stage of the system. Use a wrench or screwdriver to loosen the screws or clamps securing the membrane, then carefully remove the old membrane from the system. Before installing the new membrane, clean the inside of the membrane housing to ensure there is no residual dirt or old membrane debris. Place the new membrane into the membrane housing, ensuring it is properly aligned. Then, secure the new membrane using screws or clamps. Reconnect the reverse osmosis membrane to the system, ensuring all connections are tight and leak-free. Before using a new membrane for the first time, it needs to be flushed to remove any protective solution that may be present. Manufacturers typically provide specific flushing guidelines. Before restarting the water supply, check the system for leaks and ensure all components are correctly installed.
Conclusion
Regularly replacing the PP cotton and reverse osmosis membrane in water treatment equipment is crucial for maintaining water quality and system performance. By following the steps above, you can ensure your RO system continues to operate effectively. Remember to always follow the manufacturer's guidance and recommendations during replacement to ensure safety and optimal performance. Furthermore, regular maintenance and inspections are also key to ensuring the long-term stable operation of the RO system.
